
Windows Virtual Machine
Few scientific applications (such as ArcGIS, Tableau Desktop, etc.) can only be run in the Windows operating system. In order to facilitate research that uses these applications, Anvil provides an Open OnDemand application to launch a Windows virtual machine (VM) on Anvil compute nodes. The virtual machine is created using the QEMU/KVM emulator and it currently runs the Windows 11 professional operating system.
Link to section 'Important notes' of 'Windows Virtual Machine' Important notes
- The base Windows VM does not have any pre-installed applications and users must install their desired applications inside the VM.
- If the application requires a license, the researchers must purchase their own license and acquire a copy of the software.
- When you launch the Windows VM, it creates a copy of the VM in your scratch space. Any modifications you make to the VM (e.g. installing additional software) will be saved on your private copy and will persist across jobs.
- All Anvil filesystems (
$HOME,$PROJECT, and$CLUSTER_SCRATCH) are available inside the VM as network drives. You can directly operate on files in your$CLUSTER_SCRATCH.
Link to section 'How to launch Windows VM on Anvil' of 'Windows Virtual Machine' How to launch Windows VM on Anvil
- First login to the Anvil OnDemand portal using your ACCESS credentials.
- From the top menu go to Interactive Applications -> Windows11 Professional.
- In the next page, specify your allocation, queue, walltime, and number of cores. Currently, you must select all 128 cores on a node to run Windows VM. This is to avoid resource conflict among shared jobs.
- Click Launch.
- At this point, Open OnDemand will submit a job to the Anvil scheduler and wait for allocation.
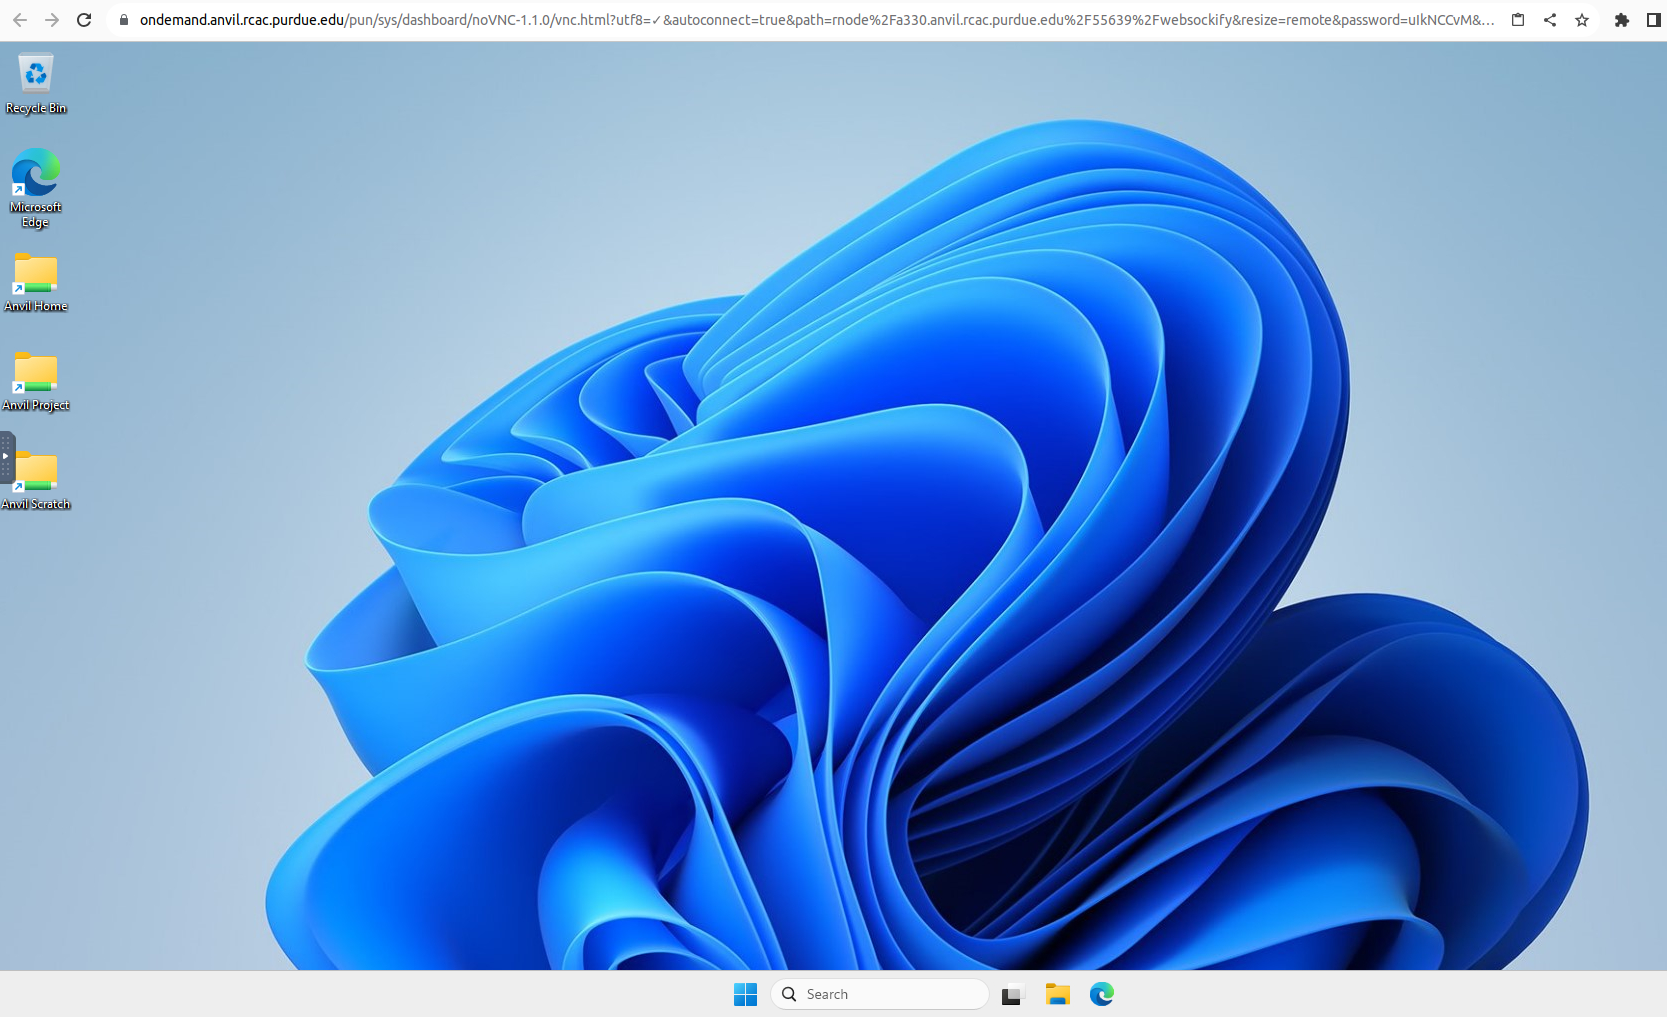
- Once the job starts, you will be presented with a button to connect to the VNC server.
- Click on Launch Windows11 Professional to connect to the VNC display. You may initially see a Linux desktop which will eventually be replaced by the Windows desktop.
- A popup notification will show you the default username and password for the Windows VM. Please note this down. When you login to Windows for the first time, you can change the username and password to your desired username and password.
- Note that it may take upto 5 minutes for the Windows VM to launch properly. This is partly due to the large amount of memory allocated to the VM (216GB). Please wait patiently.
- Once you see the Windows desktop ready, you can proceed with your simulation or workflow.
Link to section 'Advanced use-cases' of 'Windows Virtual Machine' Advanced use-cases
If your workfow requires a different version of Windows, or if you need to launch a personal copy of Windows from a non-standard location, please send a support request from the ACCESS Support portal.